System File Checker (SFC) is a command-line tool that scans all protected system files and replaces incorrect versions with correct versions. This tool originally built for Windows 2000!, and all GA editions were shipped with it. In other words, SFC scans to check for any file corruption and repairs them accordingly. If you have modified your system files (including Windows DLL files) running SFC will revert the system files back to the default state.
Below table (SFC Switches) is a cut & paste from TechNet (Link provided below):
| Switch | Description |
| /scannow | Scans all protected system files immediately. |
| /scanonce | Scans all protected system files once at the next boot. |
| /scanboot | Scans all protected system files at every restart. |
| /cancel | Cancels all pending scans of protected system files. |
| /quiet | Replaces all incorrect file versions without prompting the user. |
| /enable | Enables WFP for normal operation. |
| /purgecache | Purges the file cache and scans all protected system files immediately. |
| /cachesize= x | Sets the file cache size in bytes. This change does not take effect
until you restart the computer. |
| /? | Displays this list. |
Follow the below steps:
- Windows key + X, click “Command Prompt (Admin).”
- On the Command Prompt, type the following command, and then press ENTER (assuming you are an Administrator & using a privileged account):
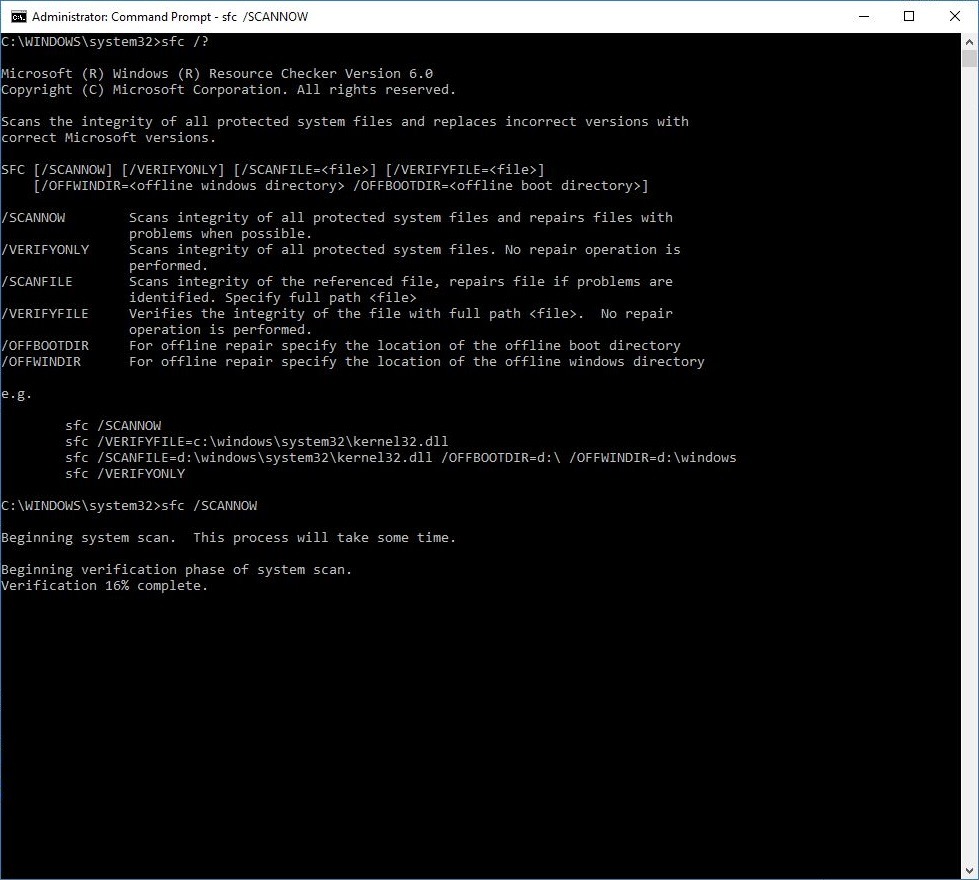
C:\WINDOWS\system32>sfc /SCANNOW
Please be mindful that it could take significant amount of time to complete this operation. Screenshot follows during its operation on a Windows 10 Pro computer:
When the SFC have finished running it will say either one of the following three notifications:
- Windows did not find any integrity violations (this is very good)
- Windows Resource Protection found corrupt files and repaired them (good news)
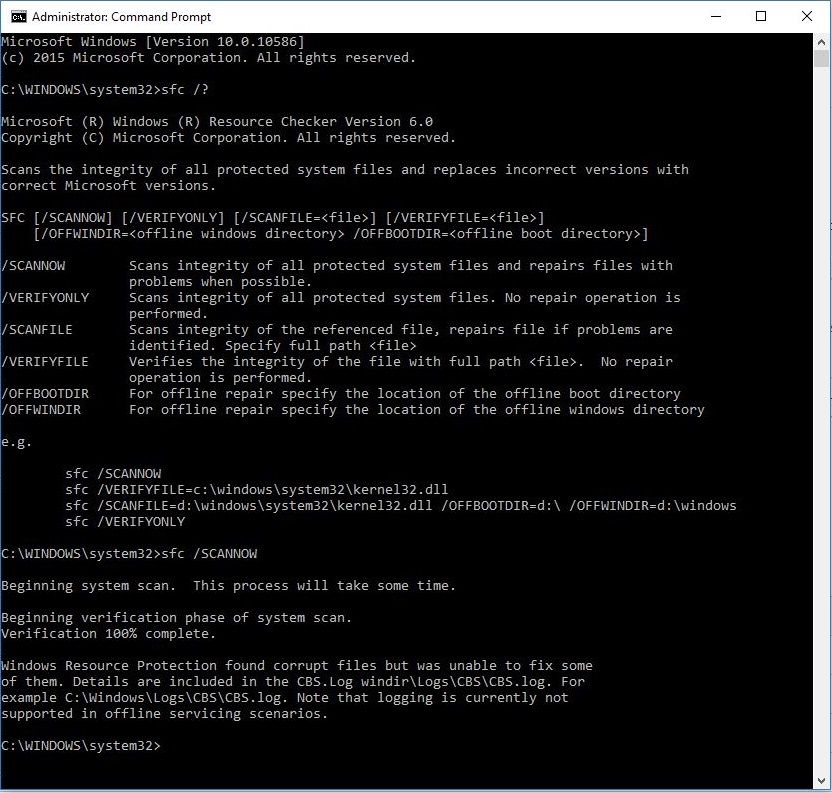
- Windows Resource Protection found corrupt files but was unable to fix some (or all) of them (sad news, not bad)
Screenshot follows with errors:
 But do check the log and remedy statements almost always available in Microsoft TechNet site. Now, export the log by issuing the following command:
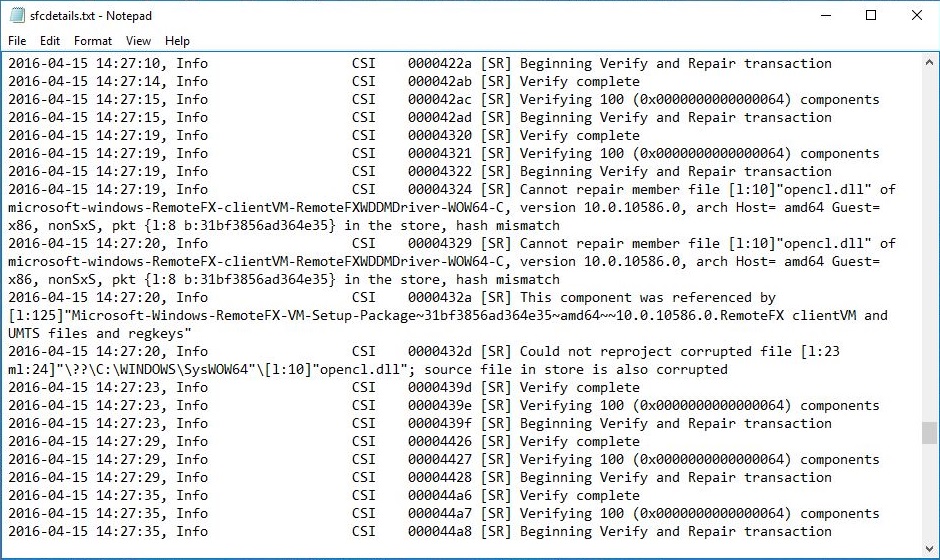
findstr /c:”[SR]” %windir%\Logs\CBS\CBS.log >”%userprofile%\Desktop\sfcdetails.txt”
This command will export the log to readable format onto your desktop, in a file named “sfcdetails.txt”. Open the file and it should look like the following screenshot:
 Now the repair part begins….with DISM
DISM (Deployment Image Servicing and Management)
If you are on win 8 (or higher build of 8.1 or 10 even) you should also run DISM whether SFC found errors or not!! To check the health (You sould use /CheckHealth to only check whether the image has been flagged as corrupted). From the same administrative command prompt run the following command:
DISM /Online /Cleanup-Image /CheckHealth
To scan the health, use the /ScanHealth switch to scan the image for component store corruption. Please remember that this option does not fix any corruption.
DISM /Online /Cleanup-Image /ScanHealth
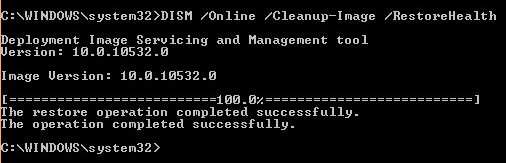
To restore health use the /RestoreHealth switch to scan the image for component store corruption, perform repair operations automatically, and records that corruption to the log file. This generally takes 5-20 minutes depending on the corruption and size of the partition. You can run scanhealth & restorehealth at the same time by issuing both switches at the same time. Command follows:
DISM /Online /Cleanup-image /Scanhealth && DISM.exe /Online
/Cleanup-image /Restorehealth
After this, it’s a good idea to run the SFC again to check if the command produces any errors or not. If you get the error message “cannot find source files” you need to have an ISO file mounted and need to specify where it is located with the below command
DISM /Online /Cleanup-Image /RestoreHealth
/source:WIM:X:\Sources\Install.wim:1 /LimitAccess
The ISO must be exactly the same version as the running OS. An ISO of 10532.0 will not repair a running system of 10533.0. simply put, the file version mismatch and some additional files are also introduced. If you do not have an ISO, download it from Microsoft site: https://www.microsoft.com/en-us/software-download/windows10
Further Reading:
- https://technet.microsoft.com/en-us/library/bb491008.aspx
- https://support.microsoft.com/en-us/kb/929833